CrowdCameo settings are managed here in the admin.
Go to Events › CrowdCameo, then click the Settings tab above the galleries list.
Everything on this page is site-wide — it applies to every gallery, including galleries that have already run.
1. Auto-approve new submissions — when on, every uploaded photo lands in Approved immediately. When off, photos enter Pending for moderation.
2. Auto-remove flagged photos — pulls a photo from the gallery once it accumulates enough fan flags.
3. Auto-remove flag threshold — how many flags it takes. It starts at 2 and can be set anywhere from 1 to 50.
4. Click Save Settings.
Upload your sponsor's logo under Sponsor Image, then click Save Settings.


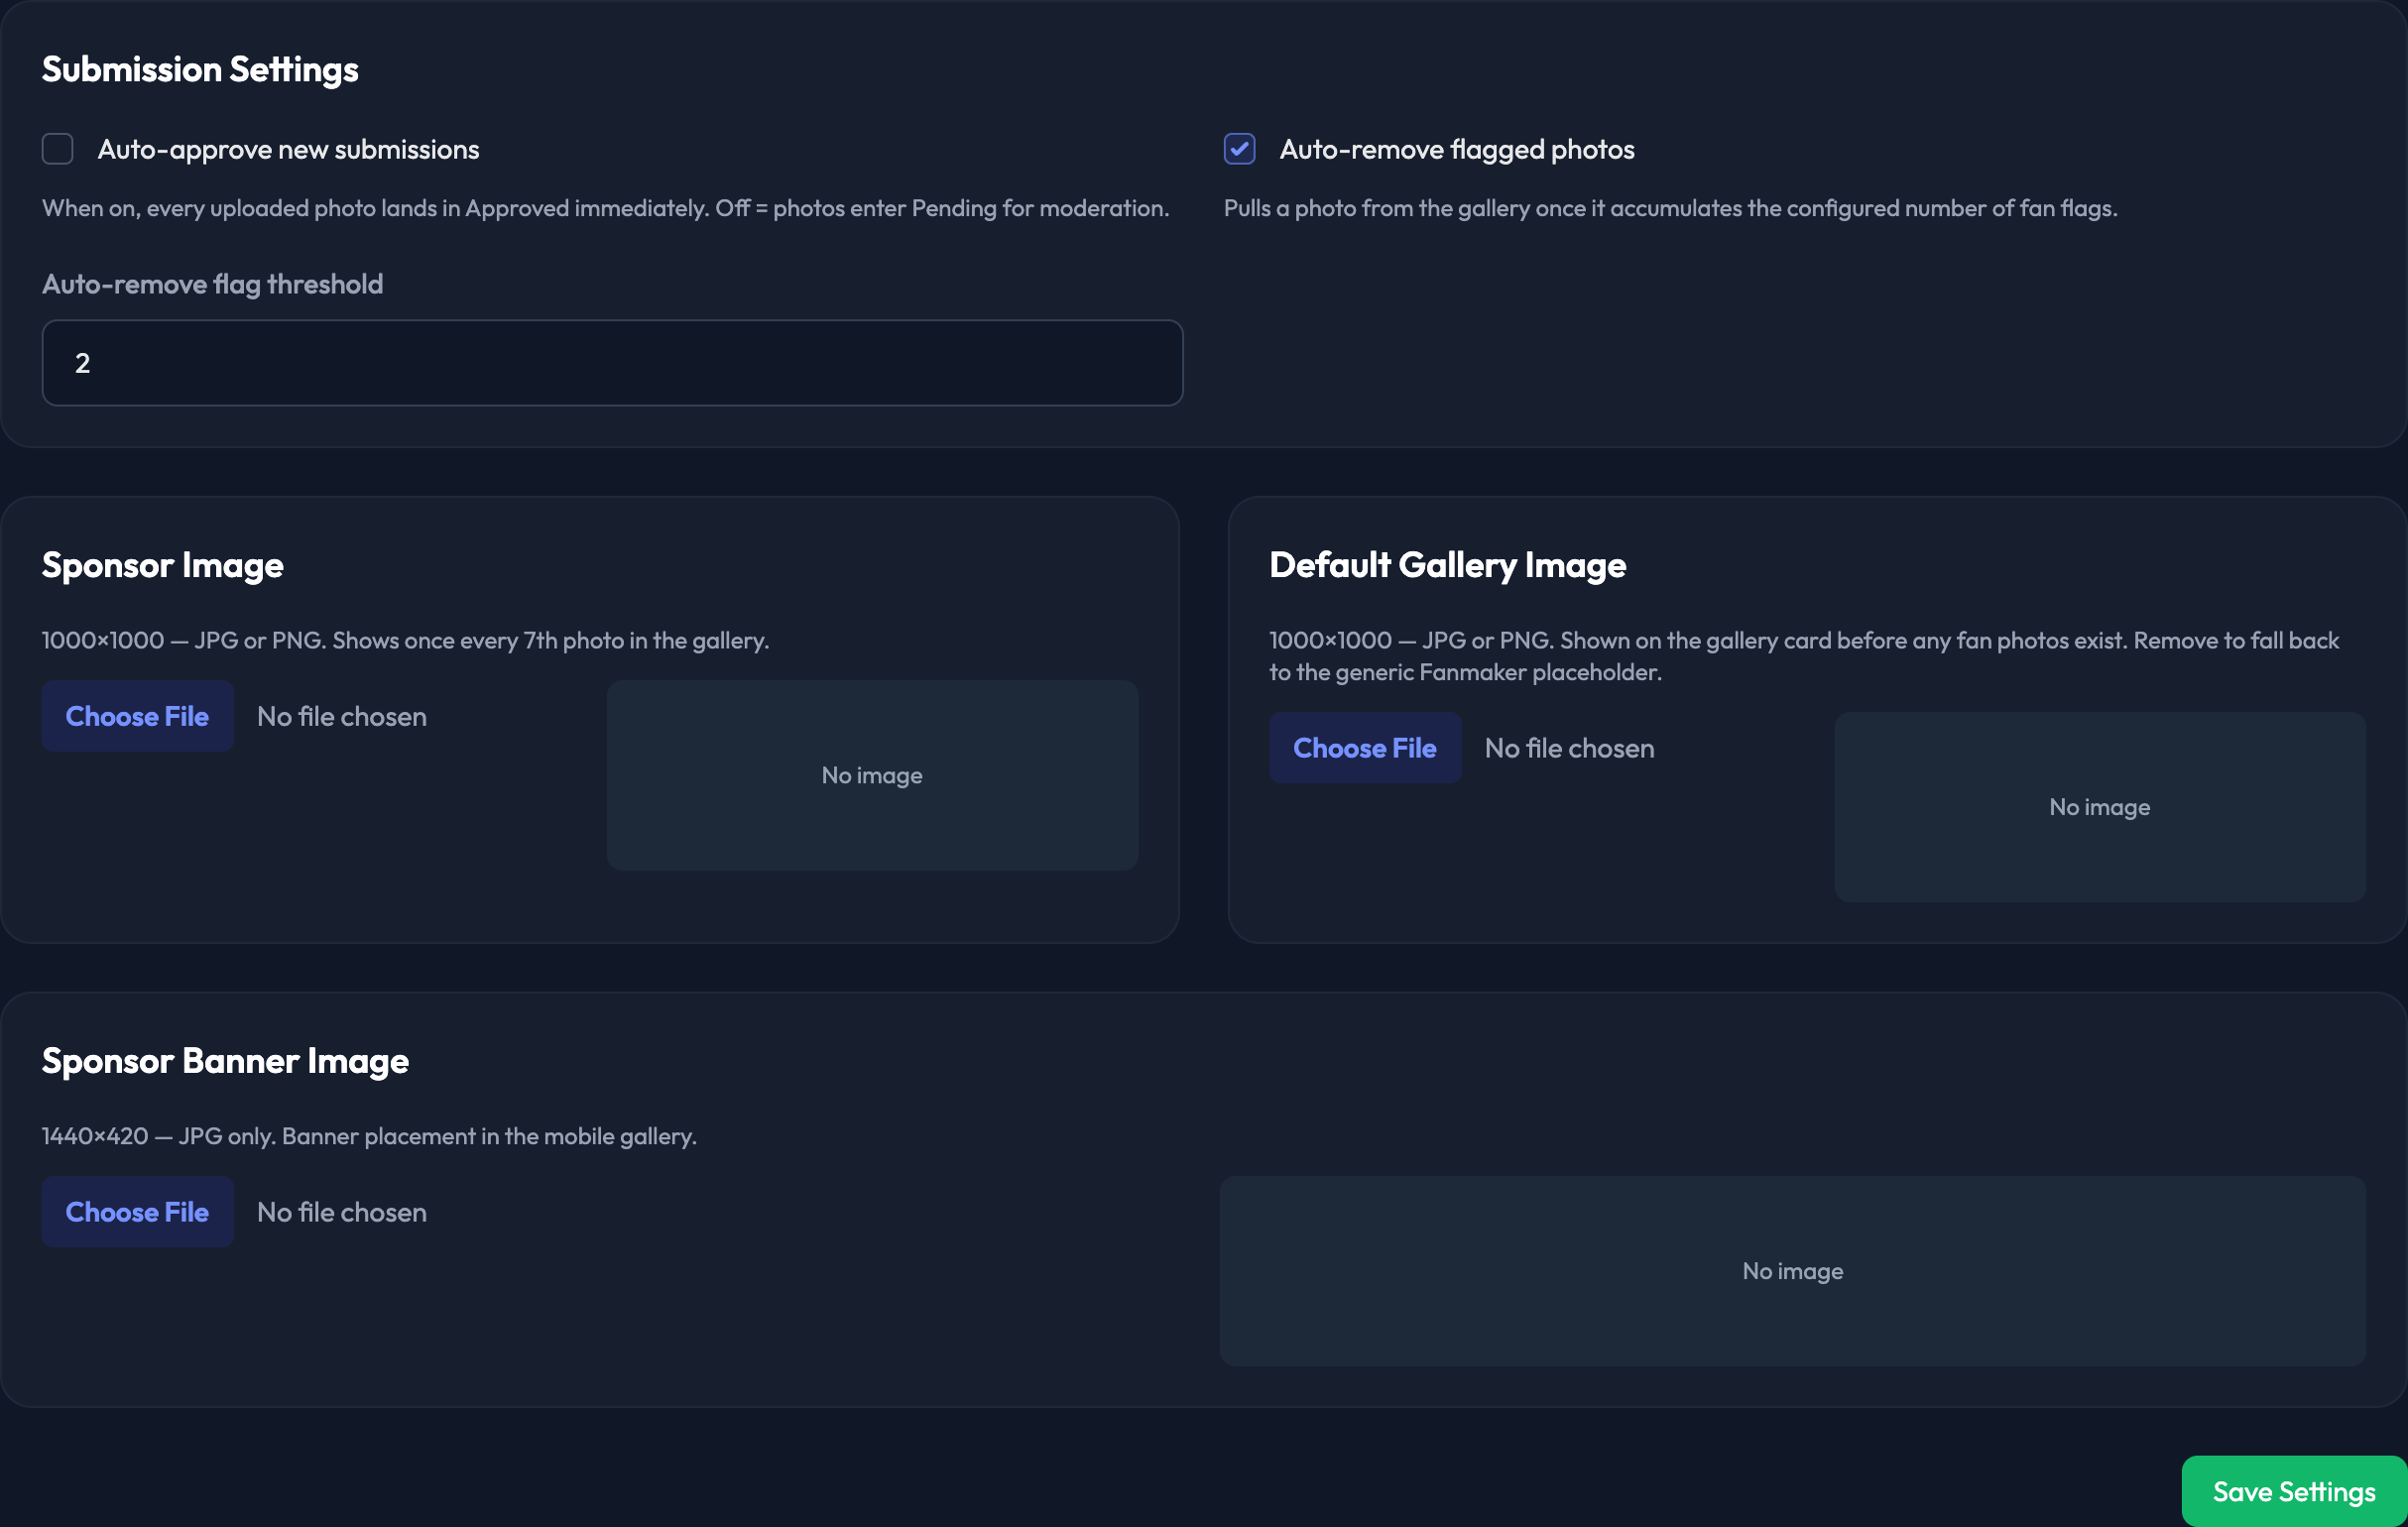
1000×1000 px, JPG or PNG. This is what shows on the gallery card before any fan photos exist, so it is worth setting to something of your own. Remove it and the gallery falls back to the generic Fanmaker placeholder.
1440×420 px, JPG only. This is the banner placement in the mobile gallery.
