How to make a new punch card
Punch cards come in two flavours, and the list you start from decides which one you get:
Events › Event Punch Cards — cards punched by attending events. Open the list and click New Event Punch Card.
Point of Sale › Purchase Punch Cards — cards punched by buying things. Open the list and click New Purchase Punch Card.
You are not asked to pick a type on the create form — the entry point sets it for you.
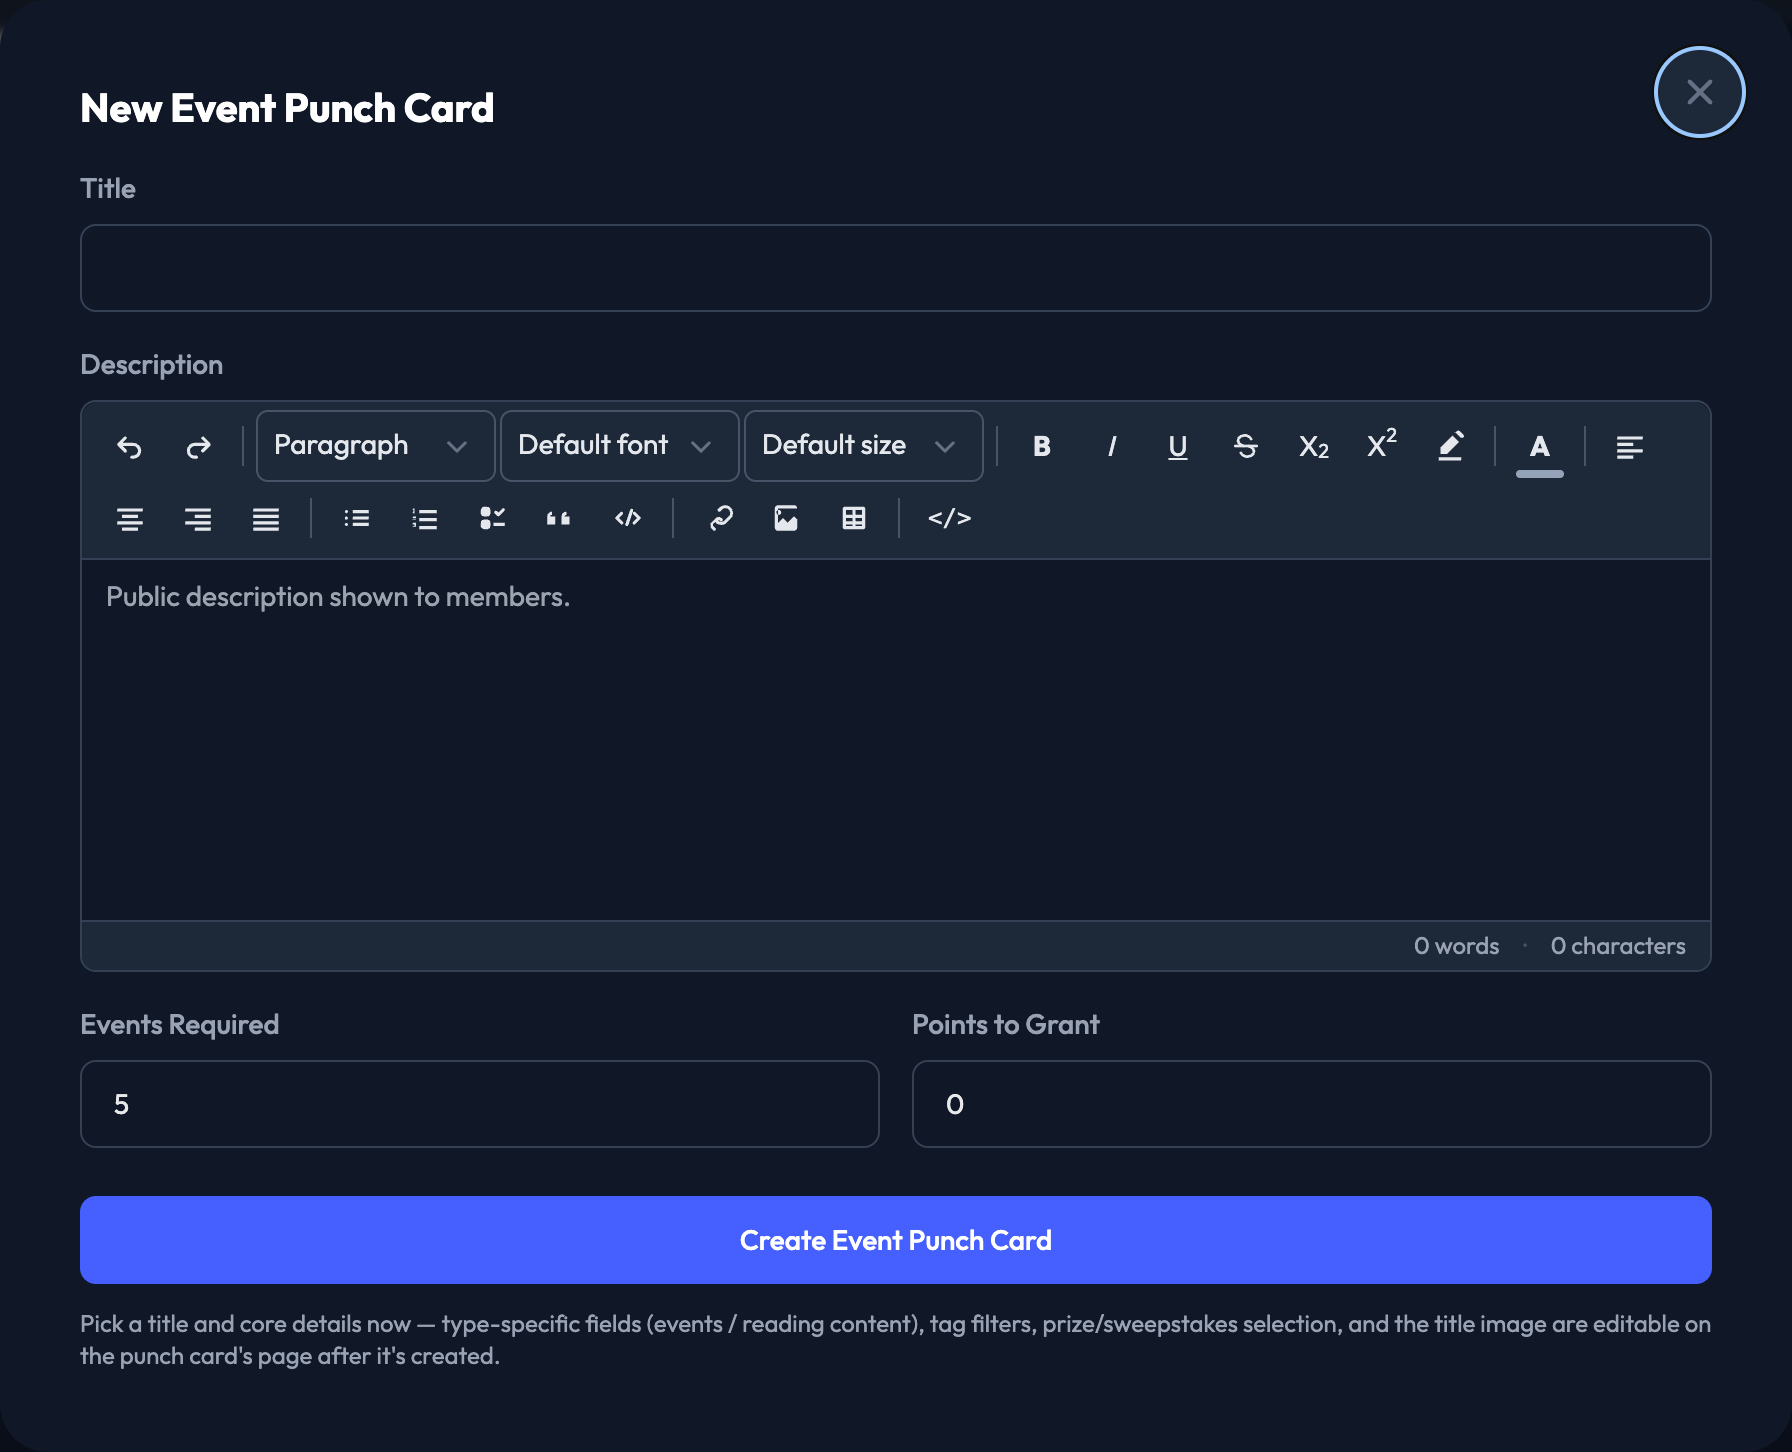
The New button opens a short form to get the card on the board:
1. Enter a Title. This one is required.
2. Enter a Description.
3. On an event card, set Events Required — how many punches complete the card. It starts at 5.
4. Set Points to Grant.
5. Click Create.
Everything else is set up on the punch card's own page, which opens from View in the list. What you see there depends on the card's Type:
Type — for an event card, Attendance (event check-ins) or Reading (read content). For a purchase card, Purchase-based (qualifying SKUs), Spend-based (total $ across SKUs) or SKU Passport (collect SKUs). Changing the type clears the fields that belonged to the old one when you save.
Details — Title, Description, and optional Member-facing instructions.
Events that qualify for a punch — Attendance cards only. Tick each qualifying event; at least one is required.
Punch count — how many punches complete the card.
Spend target (USD) — Spend-based cards only.
SKU bucket and Qualifying / required SKUs — purchase and passport cards. Order matters, with the top of the list first.
Availability — Start date (when card becomes available) and End date (when card is hidden).
Title image — optional. A 340×108 transparent PNG, which replaces the title text on the member-facing card. It must be a PNG.
Audience filters — Allow users by tag with a whitelist, and Block users by tag with a blacklist.
Completion reward — pick exactly one: points, a prize, a sweepstakes entry, stored value, or a coupon. Then fill in the field that appears for your choice.
Click Save Changes.



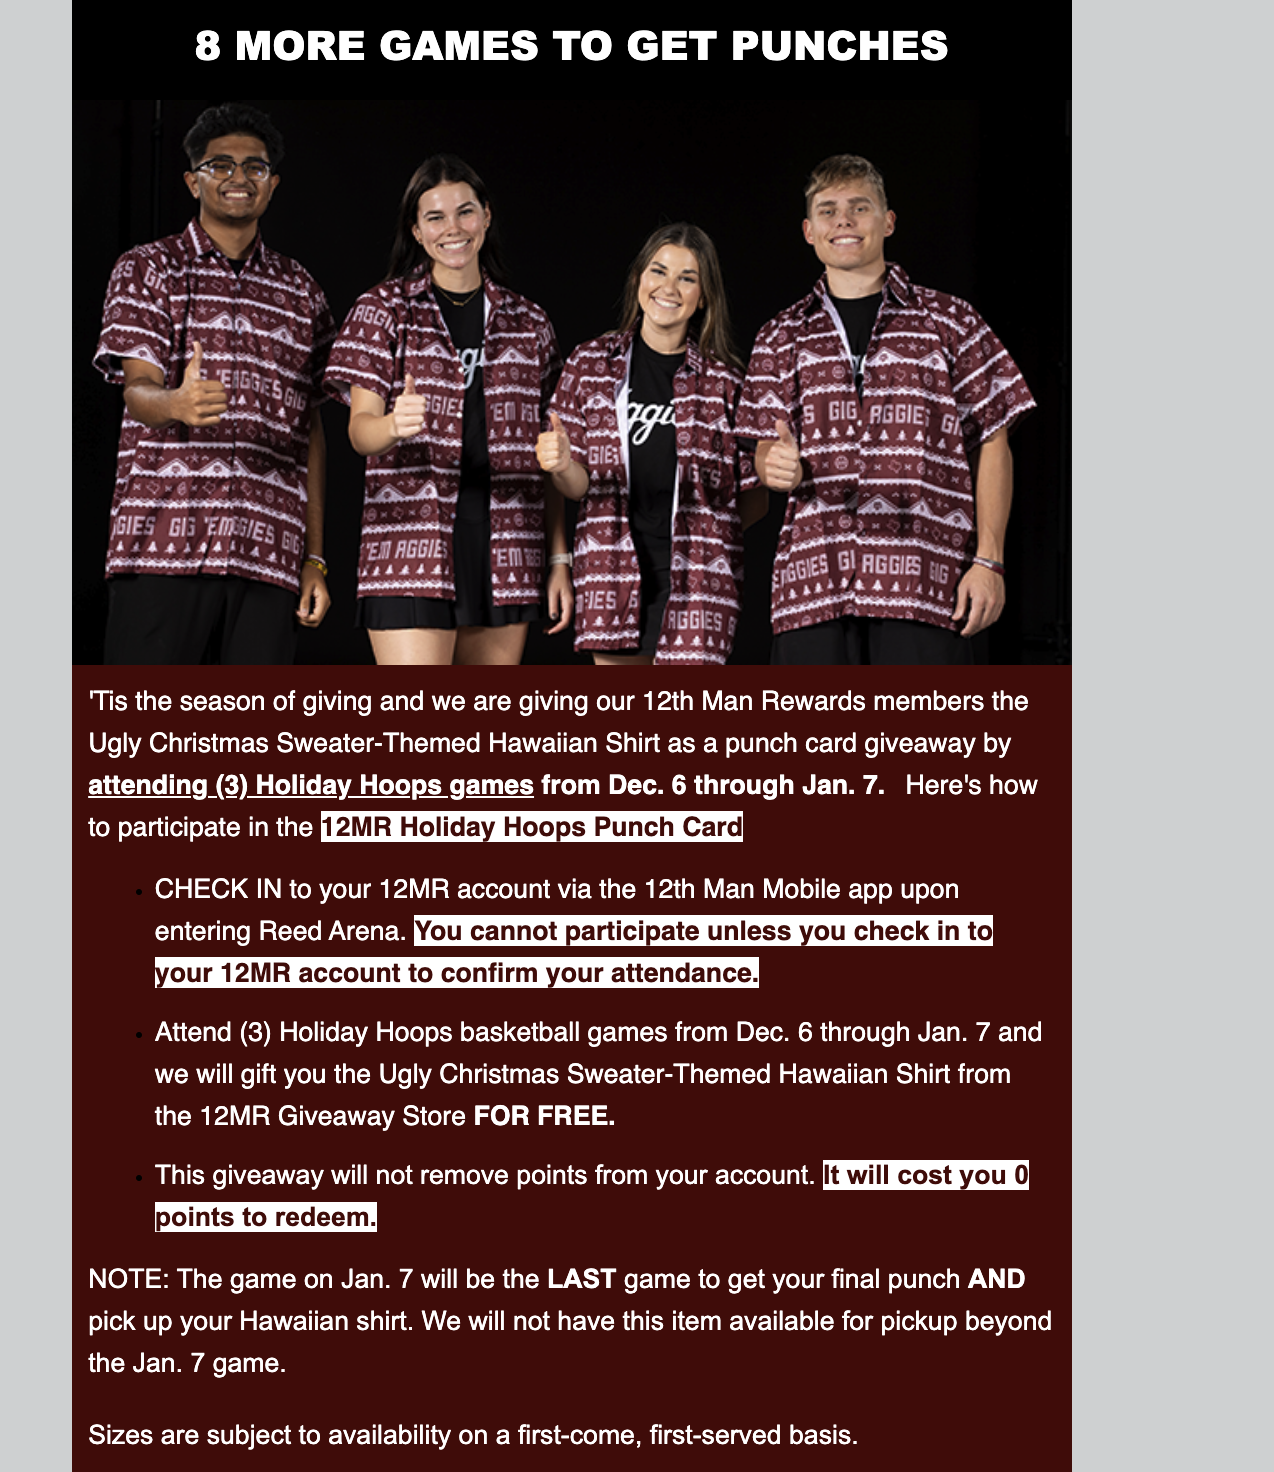
The description should be as descriptive as possible, so members know what they need to do to complete the punch card and what they will win (e.g. Attend 4 of 5 home basketball games during the month of March to win a free t-shirt!).
Offer a mix of points and prize items (e.g. gift cards, merch) for completed cards.
Example promotional material from Texas A&M