Present exclusive deals and coupons to all (or a segment) of your fans. Offers live under Rewards › Offers in the admin.
Create exclusive offers and discounts fans redeem without spending points. Think of these like the deals in a coupon book, only easy to access digitally in your program. Once a fan redeems an offer, instructions (which can include bar/QR codes) are displayed for the cashier to fulfill, making it compatible with any system. Limits can be placed on how many times a single fan can redeem an offer and how many redemptions your entire fan base can make. Impressions and redemptions are tracked and downloadable, so you can share fan data with partners.
Offer discounted tickets for events
25% off or BOGO coupons for food partners or your own concessions/merchandise
Automotive sales or repair discounts
Cell phone carrier deals
University bookstore deal — $10 off your purchase after the game
Offers can be restricted by time and segmented fans — offer a sandwich to everyone who attended a particular game because the team won, no paper coupons needed
Click New Offer on the Offers page. The form is grouped into cards.
1. Enter the Offer Title. Required — this is the name fans see.
2. Optional: pick a Category (Food, Tix, Apparel or Gaming). This groups the offer in the app's offer list.
3. Optional: add a Subtitle.
4. Write the Description — what the fan gets. Required. Don't just repeat the title.
5. Add an Image. Required. It's cropped to a square, so 800×800px is the recommendation. JPG, PNG or GIF.
6. Set Available from and Available until. Both are required — fans see the offer only inside this window.
7. Enter the Total quantity — how many redemptions exist across your whole fan base. 0 = unlimited.
8. Enter the Limit per member. Required. 0 = unlimited.
9. Enter Days between redemptions — how long a member must wait before redeeming again. Required. 0 = no wait.
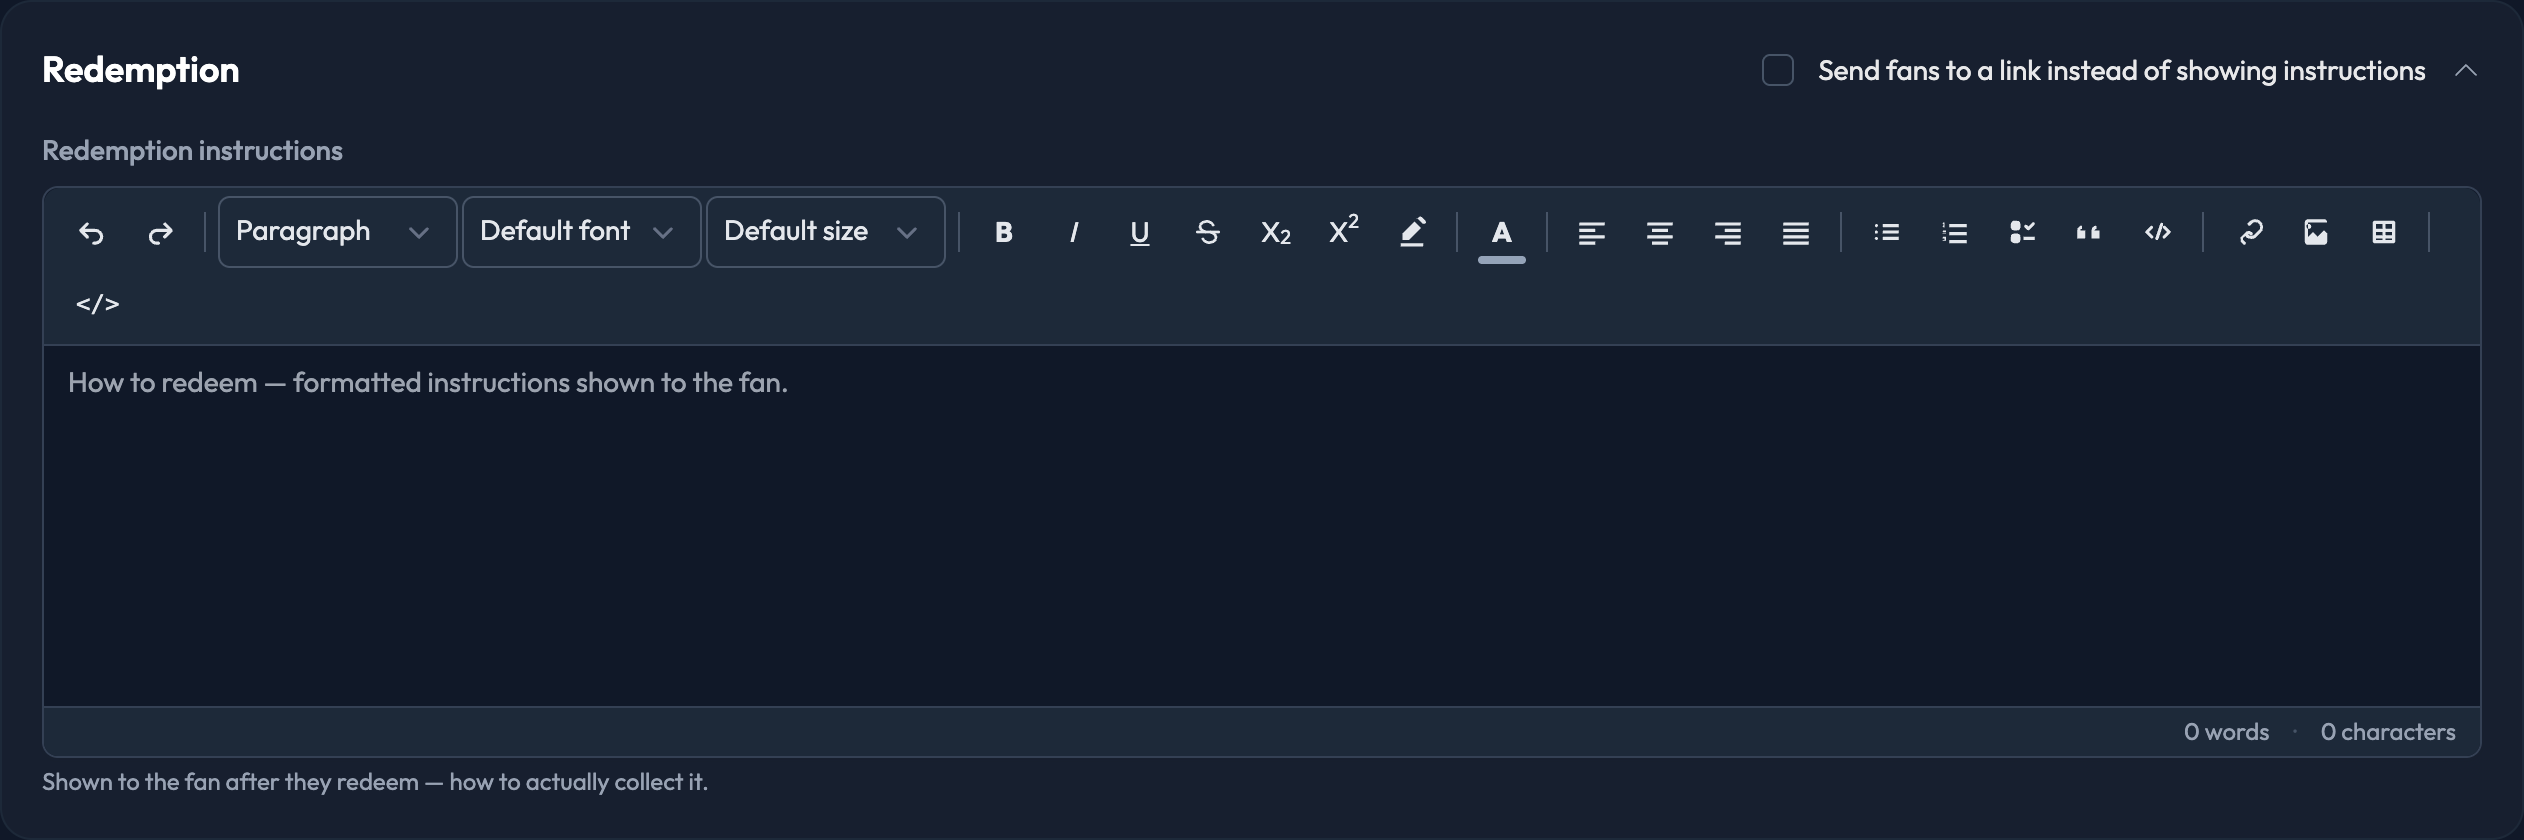
10. Write the Redemption instructions. Required. This is shown to the fan after they redeem — how they actually collect the deal.
11. Click Create Offer.
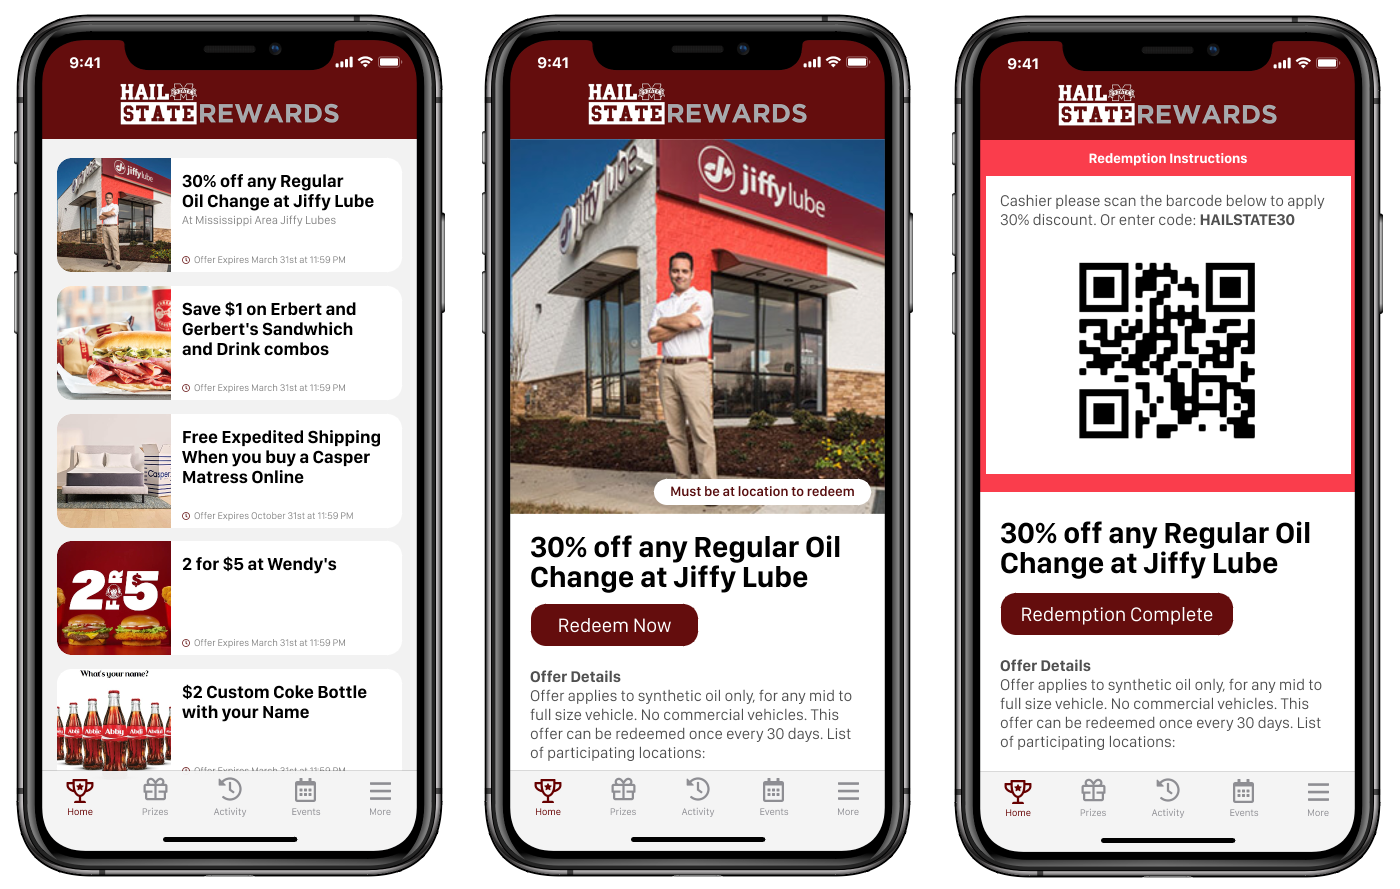

They're very flexible and can include a promo code, QR code or barcode alongside your text. To add custom HTML, click the `</>` button in the editor's toolbar to switch to the HTML source view.
In the Live Deal card, pick the events during which this offer should be highlighted to fans as a "Live Deal". Leave it empty for none.
Everything in this card narrows who can see the offer:
Only show to users with these tags / Hide from users with these tags
Only show to followers of these topics
Membership levels (none = all)
Start locked — fans can't redeem until they enter or scan a promo code linked to this offer. Link one under Point Earning › Promo Codes.


By default a fan who redeems sees your instructions. If you'd rather send them somewhere, tick Send fans to a link instead of showing instructions in the Redemption card, then set:
Where the button goes — Somewhere in the app or An external website
Button text — defaults to "Instructions" if you leave it blank
The destination — one of your site's menu tabs (managed under Design & Content › Menu) for in-app, or a website address starting with `https://` for external
