View and edit your venues here in the admin — Events › Venues.
Every event has to happen at a venue. This is the list of your physical locations — stadiums, concourse outlets, retail partners — and it's what check-in flows, the venue map, and per-event lookups all read from.
The list shows each venue's Name, City / State, Latitude, and Longitude, with a search box for finding one by name, city, or ID. A tab strip at the top switches between Venues and Venue Groups.
Add a new venue here in the admin with the "New Venue" button.
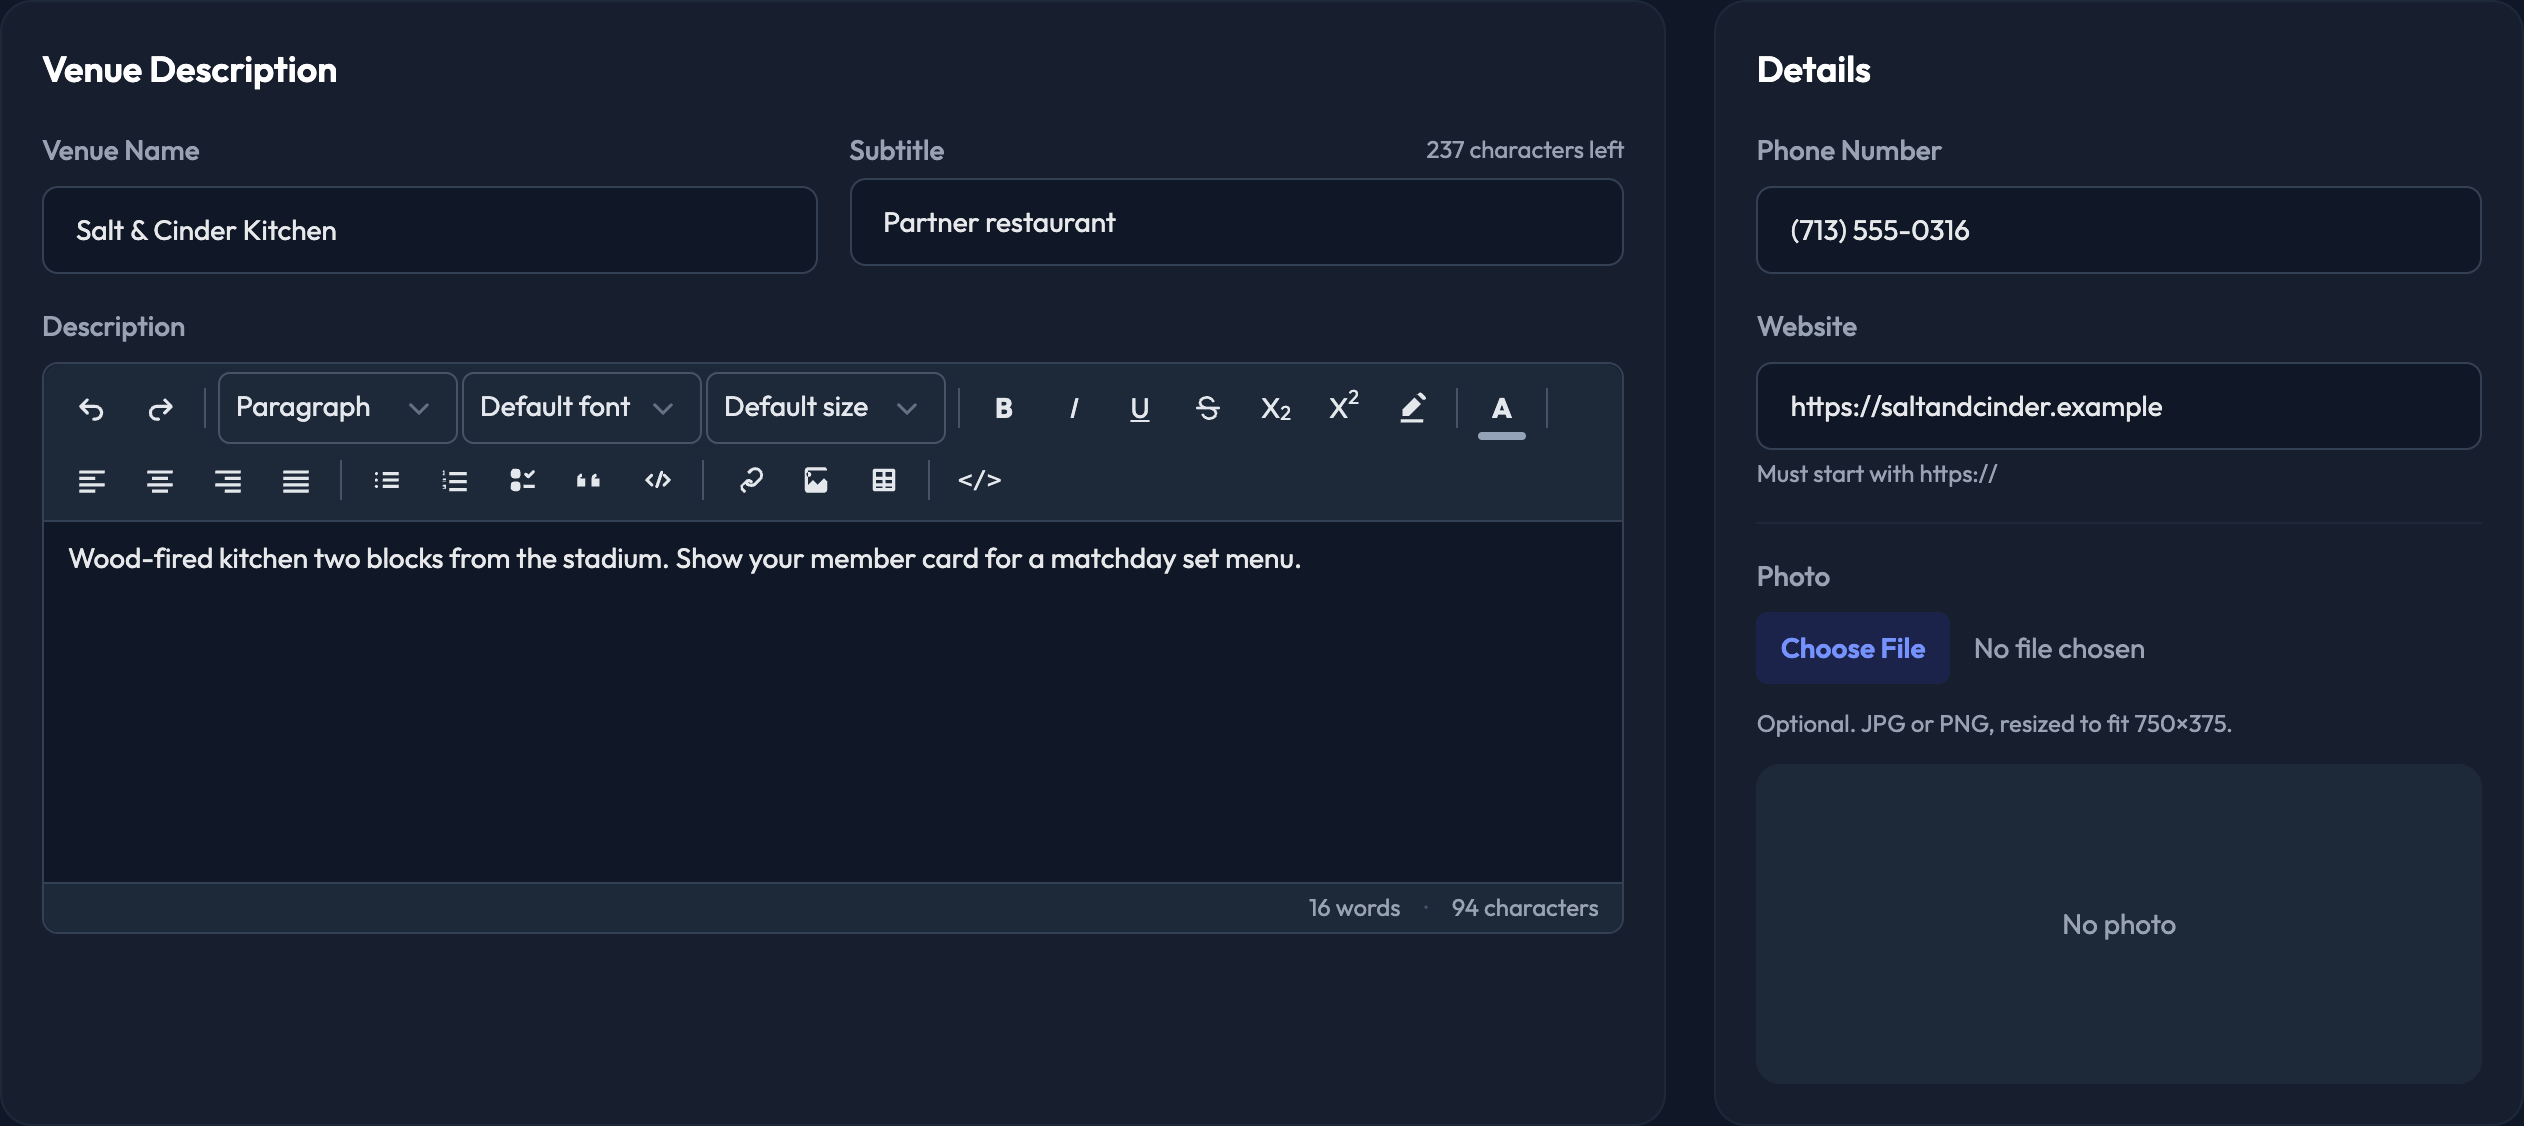
Enter the Venue Name.
Enter a Subtitle. (Optional)
Enter a Description — this is the public description fans see. (Optional)
Enter the Phone Number. (Optional)
Enter the Website. Must start with https://. (Optional)
Upload a Photo. JPG or PNG, resized to fit 750×375. (Optional)
Enter the Street Address, City, State, Postal Code, and Country.
Set the Latitude and Longitude. Both are required. The quickest way is the "Find coordinates from address" button above the map — it fills them in and moves the pin for you. You can also click or drag the pin on the map directly.
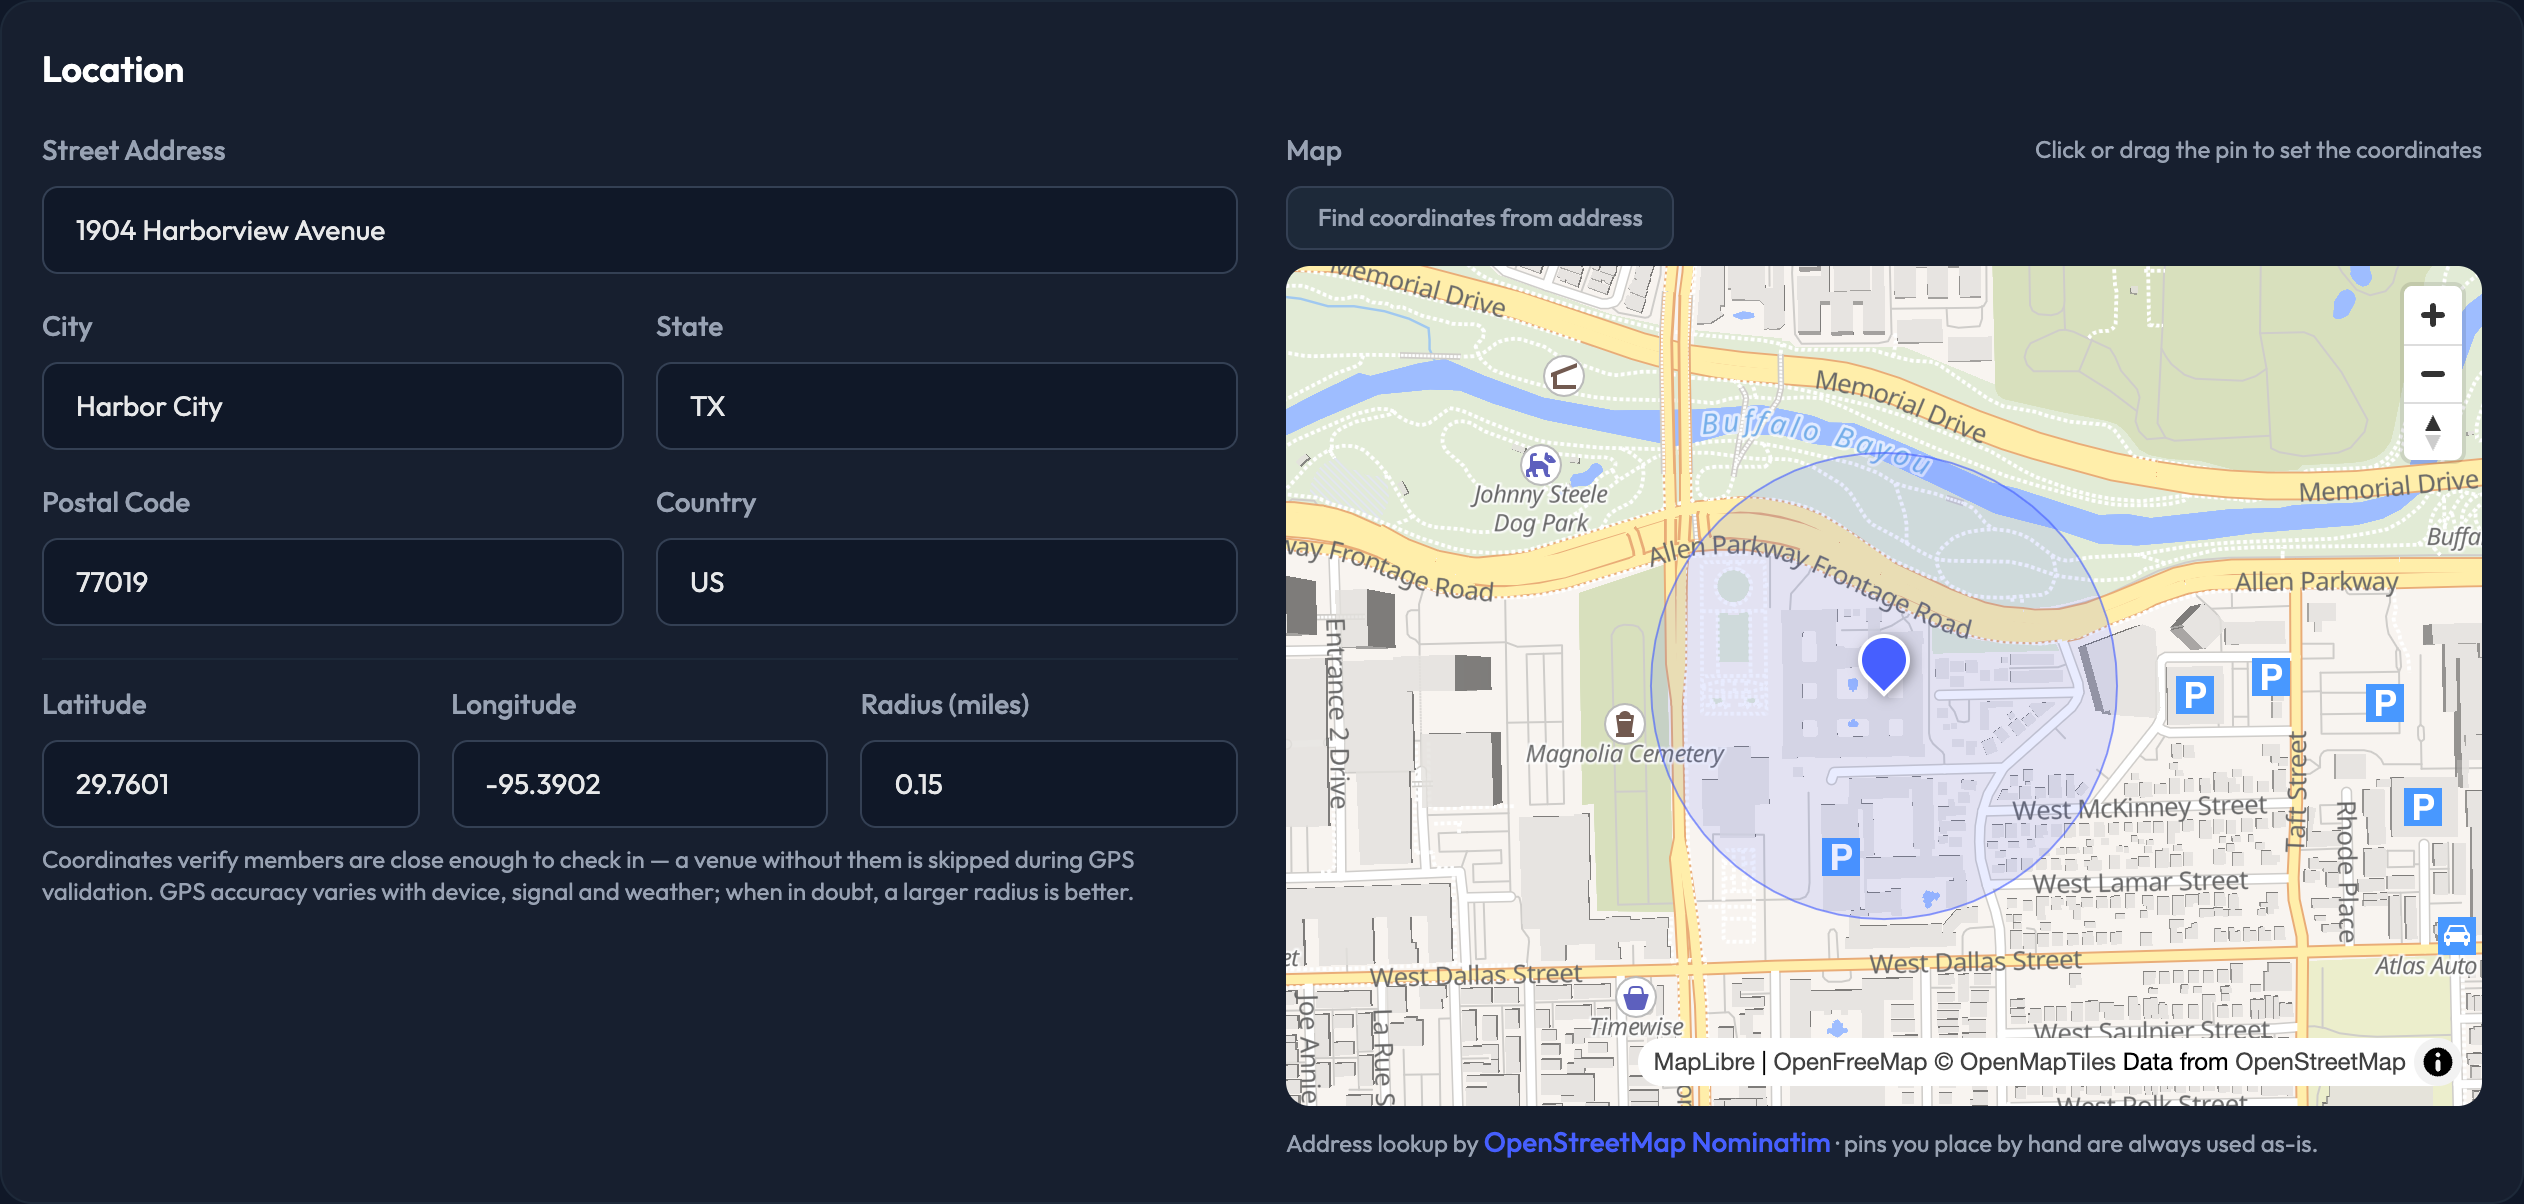
Adjust the Radius (miles) for your venue's needs. The shaded circle on the map shows it.


These render on the venue's screen in the mobile app. Add one with "+ Add Button" and give it an Icon, a Label (up to 22 characters), and a URL. Drag a row to reorder.
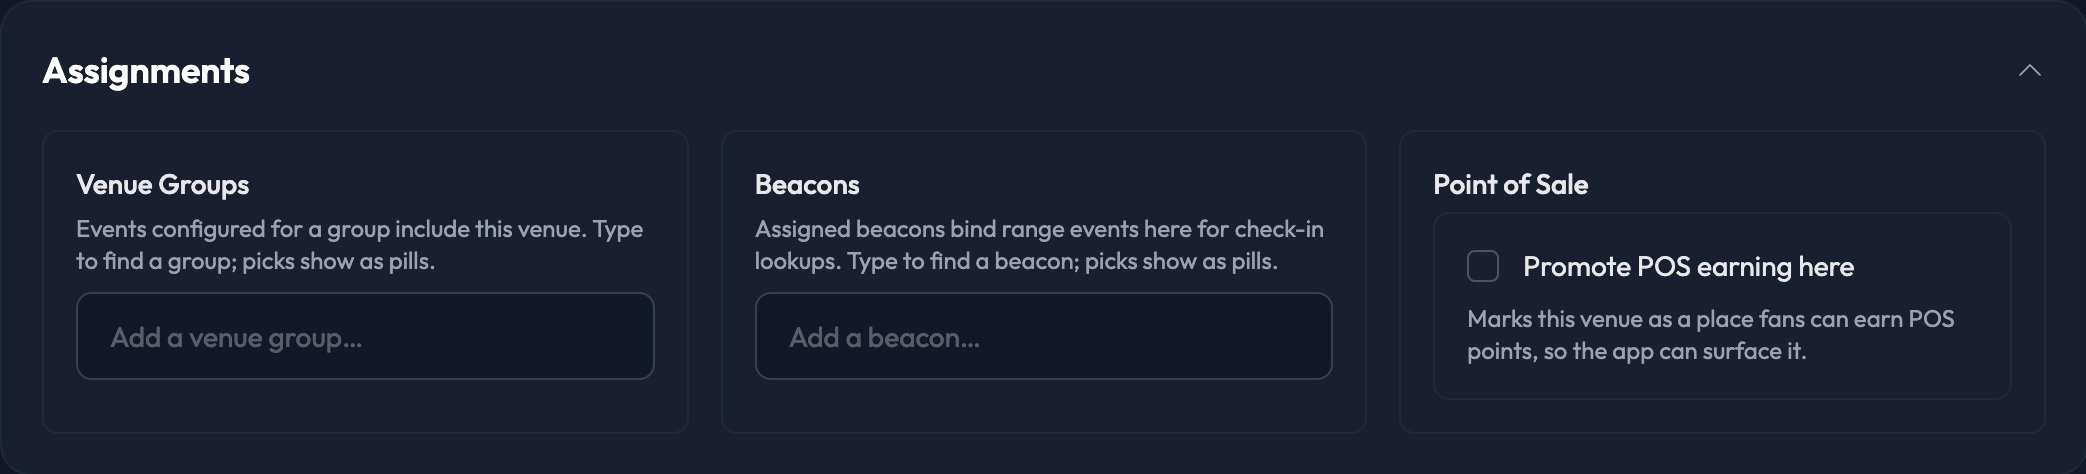
Venue Groups — type to find a group; picks show as pills. Events configured for a group include this venue.
Beacons — assigned beacons bind range events here for check-in lookups. A beacon belongs to one venue, so picking one that's assigned elsewhere re-assigns it. The list tells you when that's the case.
Point of Sale — check "Promote POS earning here" to mark this venue as a place fans can earn POS points, so the app can surface it. Shown on programs with POS earning configured.
Click "Create Venue". On an existing venue the button reads "Save Changes".
